How to Order Printing the Right Way: Your Guide to Prepress and Print Options
Ordering printing services can be complex, but with the right knowledge, you can ensure that your finished product meets your expectations. A critical step in this process is understanding prepress, the stage before printing where files are proofed and finalized, ensuring they are ready for production. This stage is essential as it can significantly impact the quality of your print job. It includes tasks such as adjusting color profiles, checking the resolution of images, and imposing files for press.
Understanding the array of print options available can be equally important. The type of paper, ink, finishing options, and binding can all influence the appearance and feel of the final product. Selecting the right combination is crucial and depends on the project’s purpose, the intended audience, and your budget. Communicate your vision clearly to your printer, as they can provide expert advice on what options would serve your project best, ultimately enhancing the effectiveness of your print material.
Before sending your artwork to the printer, finalizing your print files is essential. This involves making sure all images are high-resolution, all fonts are embedded or outlined, and the document is in the correct format. Working closely with your local printer during this stage can save time and resources, as they can spot potential issues that can affect the outcome of your print job. A successful print order requires attention to detail throughout the printing process, from the initial design to the final press run.
Key Takeaways
- Preparing files correctly for prepress ensures high-quality print outcomes.
- Choosing the right print options is tailored to the project’s goals and budget.
- Finalizing and proofing files with your printer is crucial for a successful print order.
Understanding Prepress in Printing
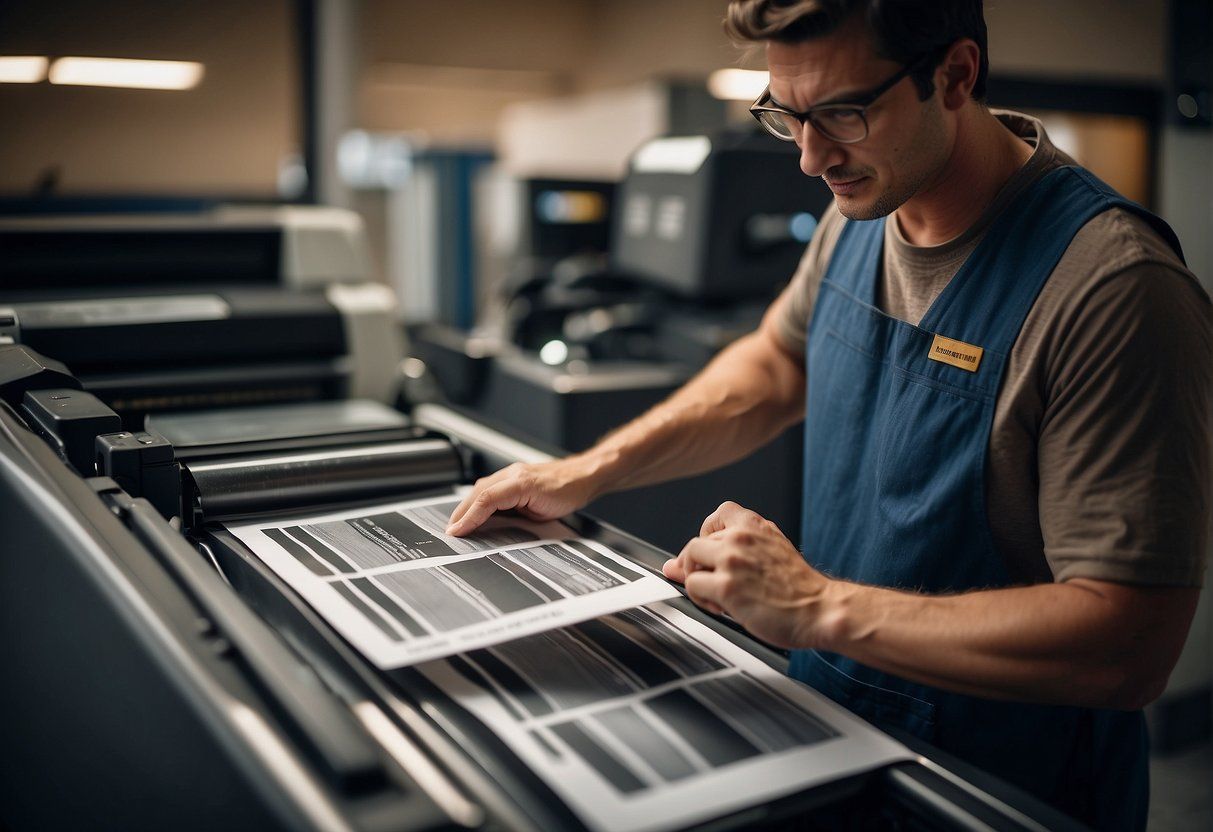
Prepress is the crucial preparatory phase in the printing process where design files are meticulously reviewed and adjusted to ensure quality prints. This stage encompasses a range of tasks, from proofreading to color management, to avoid costly mistakes during printing.
The Role of Prepress
Prepress is foundational in transforming graphics and text into a format suitable for printing. This process allows prepress experts to detect and rectify issues that could affect the final output, which involves checking the resolution and quality of images, ensuring colors are matched to the printing process, and confirming the layout adheres to print specifications. Effective prepress work minimizes risks and can result in cost savings by avoiding the need for reprints or delays.
Prepress Checklist and Preparations
A prepress checklist is essential for streamlined and error-free production. A robust checklist should include:
- Artwork Resolution : Images need to be at least 300 DPI for clarity.
- Color Mode : Graphics should be in the CMYK color mode, not RGB.
- File Format : PDF is typically the preferred format for print files.
- Bleeds and Margins : Ensure all important content is within the safe zone.
Proofreading is an indispensable part of the checklist; it validates the accuracy of the text content. A methodical review by prepress proofreading professionals can catch typographical errors and ensure copy alignment with design elements.
Common Prepress Challenges and Solutions
Prepress teams often encounter challenges such as:
- Missing Fonts or Images : Supply all necessary files to the printer to avoid delays.
- Inappropriate Colors : Use Pantone matching system for specific colors and implement color proofs to verify accuracy before the final run.
- Image Resolution : Replace low-quality images with high-resolution versions to assure a sharp output.
When faced with these challenges, PrintNinja and similar printing service providers work closely with clients to provide solutions and maintain quality results. Their expertise is crucial in effectively navigating the prepress stage, making them valuable partners in the printing process.
Graphic Design Considerations for Print
When preparing graphic designs for print, one needs to ensure that design files are optimized correctly, color modes are appropriately selected, typography is managed with attention to detail, and resolution and image size are set to the required standards.
Design File Essentials
Designers must create and submit designs in specific file formats. Adobe InDesign and Adobe Illustrator are preferred due to their ability to handle complex layouts and vector graphics which are essential for clear printing results. A proper file setup would include:
- Margins and Bleeds: Typically a bleed of 0.125 inches is added beyond the final print size to ensure no unprinted edges occur.
- Layer Organization: Use labeled layers for text, images, and other elements for easy manipulation and updates.
Color Modes and When to Use Them
In print, color modes are crucial:
- CMYK (Cyan, Magenta, Yellow, Black): The standard color mode for printing. It produces accurate print colors by mixing these four inks.
- RGB (Red, Green, Blue): Used for digital display and should be converted to CMYK for print jobs to ensure color accuracy.
| Use Case | Color Mode |
|---|---|
| Printing | CMYK |
| Web | RGB |
Typography and Font Management
Typography requires careful consideration to maintain print clarity:
- Font Choices: Select fonts that are legible and appropriate for your artwork. Ensure that the fonts used are available for commercial use.
- Font Spacing: Tracking and kerning should be adjusted to improve readability.
Consistent use of fonts across all materials helps maintain brand integrity and readability.
Resolution and Image Size
The imagery in design files should adhere to resolution standards:
- Image Size: Dimensions should match the print size, with no upscaling, to avoid pixelation.
- Resolution: Minimum of 300 dpi (dots per inch) for printed images to ensure sharp, clear prints.
Avoid using low-resolution images taken from the web as they are often 72 dpi, which is insufficient for quality print.
Selecting the Right Print Options
When one is ordering prints from a local printer, choosing the right print options is essential to achieve the desired quality and functionality of the printed materials. These decisions can greatly affect the appearance, durability, and cost.
Understanding the Different Printing Processes
The selection between digital printing and offset printing hinges on the project’s volume, deadline, and quality requirements. Digital printing is suitable for smaller quantities and when a quick turnaround is needed. It allows for easy customization and operates without the need for printing plates. Conversely, offset printing is the go-to for higher volume orders, as it offers a price break as quantity increases. It provides superior color fidelity and is capable of utilizing Pantone colors, ensuring precise color matching, especially important for brand consistency.
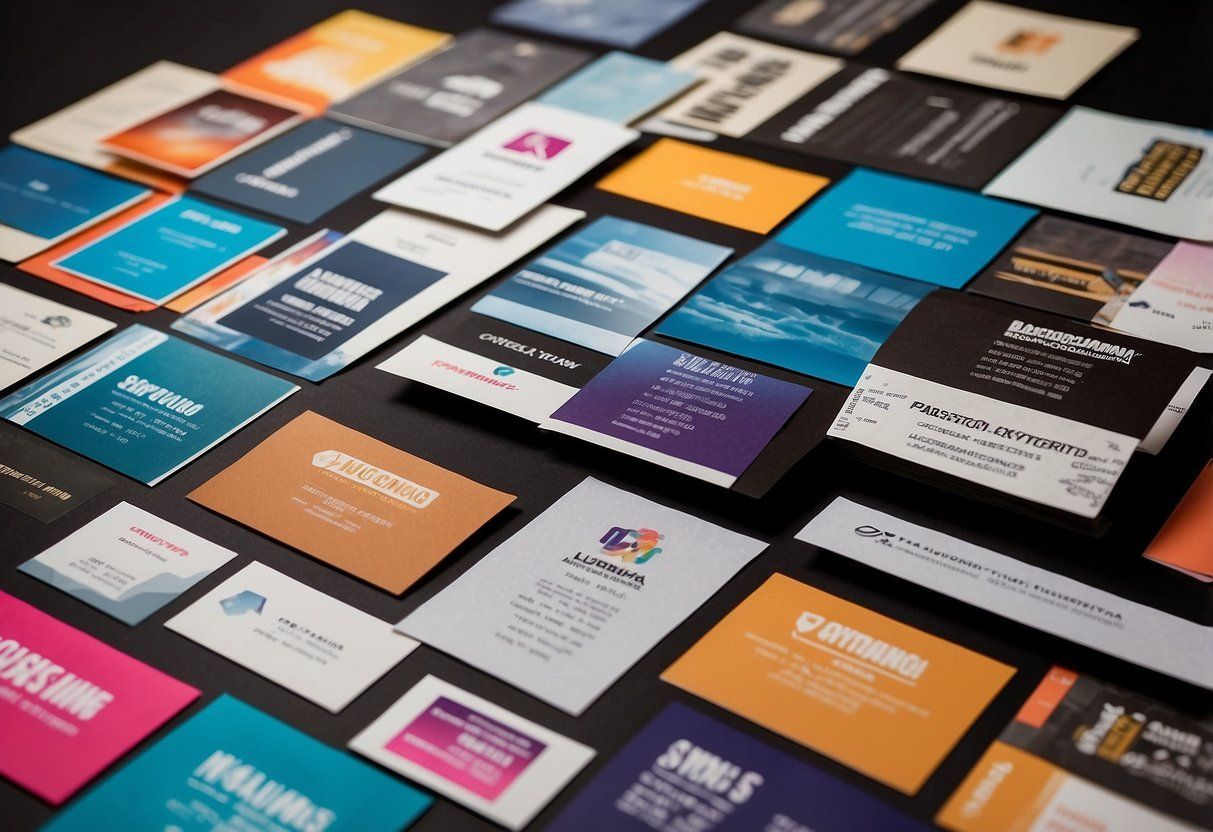
Navigating Paper Choices and Finishes
Paper type and finish can dramatically change the feel and function of the printed materials. Choices typically range from glossy, matte, uncoated, to textured stock, each imparting a different tactile experience and print quality. Glossy papers are shiny and reflect light well, ideal for vibrant color prints, whereas matte finishes are more subdued and elegant. Thicker paper, denoted by higher weight, usually implies higher quality but also impacts cost and binding options. One should consider the end-use of the printed material when selecting paper and finishes.
| Paper Type | Finish Options | Common Uses |
|---|---|---|
| Gloss | High shine | Photo prints |
| Matte | Low glare | Business cards |
| Uncoated | None | Stationery |
| Textured | Unique feel | Invitations |
Determining the Right Binding and Folds
Binding choices not only contribute to the aesthetic appeal but also to the functionality of the printed piece. Common binding techniques include saddle-stitching, perfect binding, spiral, and comb binding, each suited for different types of projects. Saddle-stitching works well for small booklets and is cost-effective; perfect binding gives a professional look to thicker documents like catalogs or magazines. The type of folds used is crucial for brochures, pamphlets, and leaflets. For example, a tri-fold brochure provides three panels on each side, offering a clear space for organized information, while a Z-fold unfolds in a concertina manner, often used for mailers and quick reference guides.
- Binding Options:
- Saddle-stitching: Affordable, lays flat.
- Perfect binding: Clean, professional appearance.
- Spiral binding: Flexible, allows booklet to lie flat.
- Comb binding: Easily editable, documents can lay flat.
- Fold Types:
- Tri-fold: Three equally sized panels.
- Z-fold: Accordion-style layout.
- Half-fold: Simple bi-fold, for larger images and content.
Selecting the appropriate print options requires an understanding of the available printing processes, paper choices, finishes, bindings, and folds, taking into account the project’s specific needs and intended use.
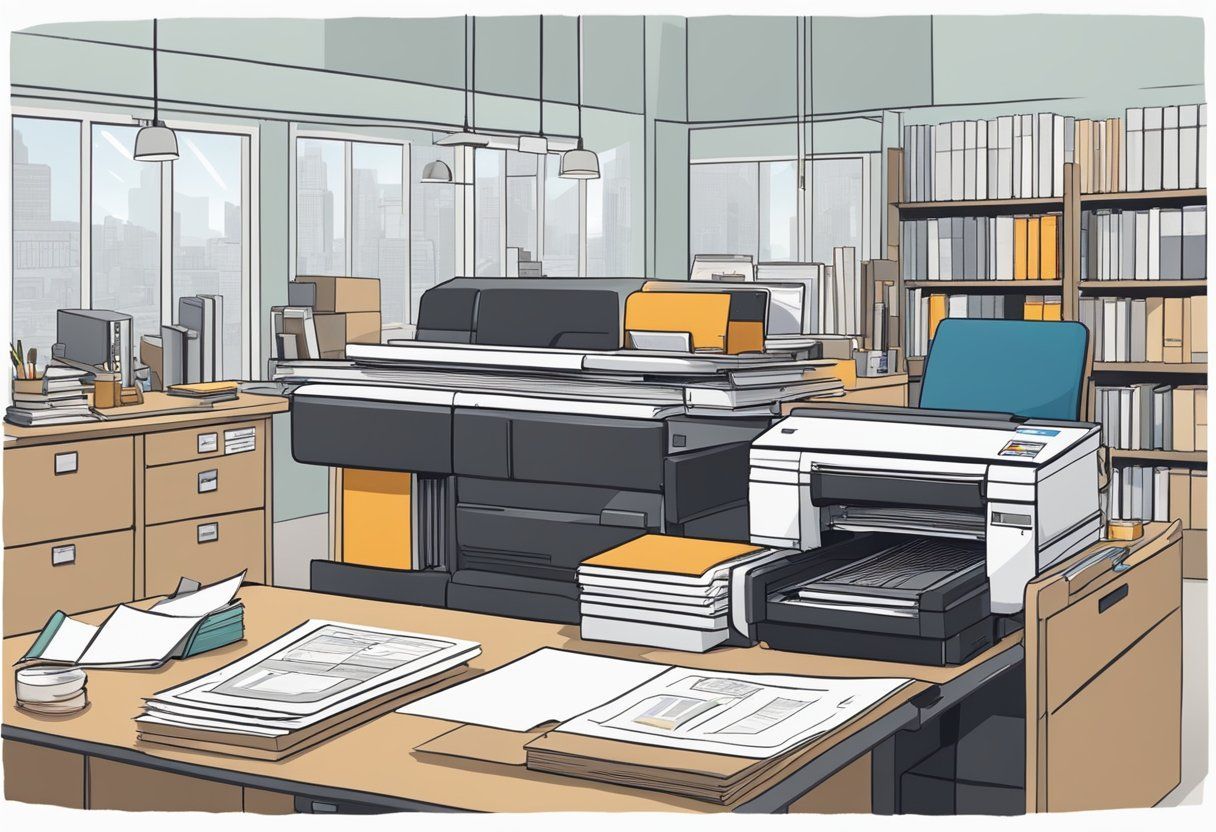
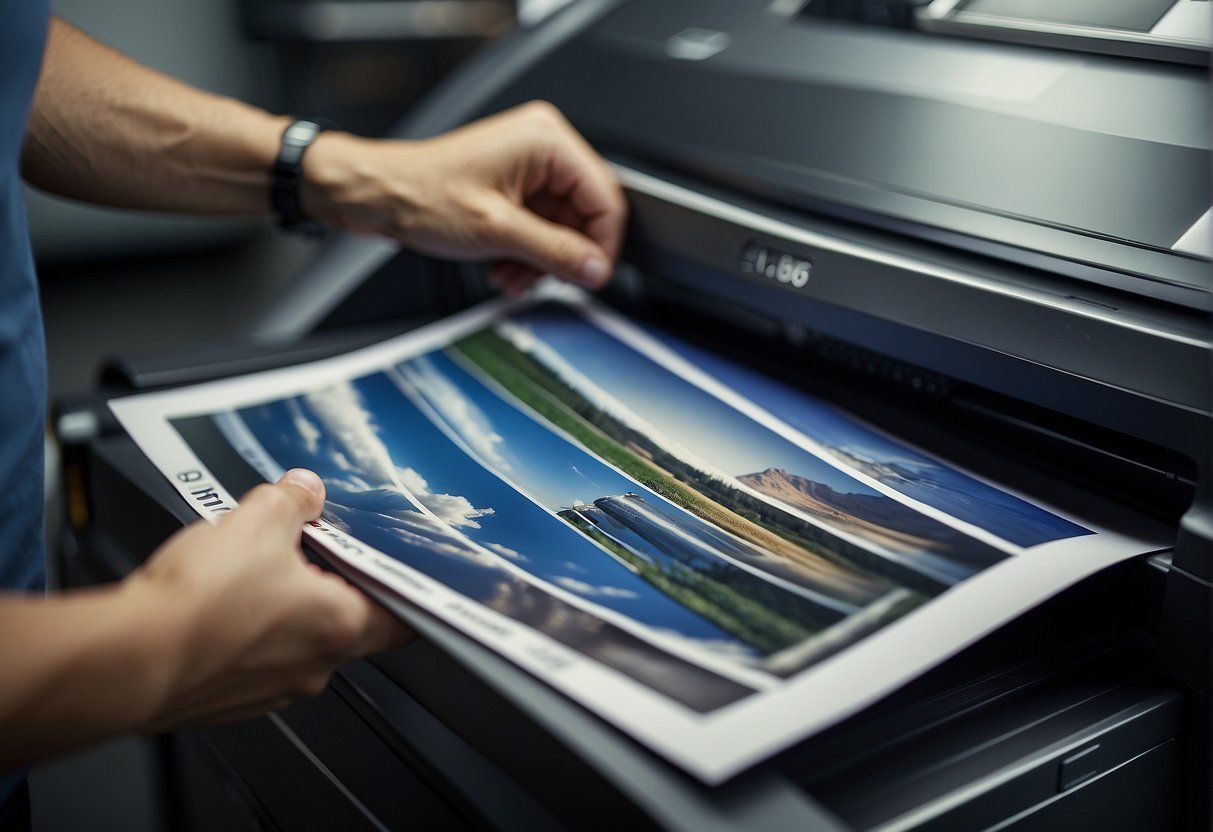
Finalizing Your Print Files
Before sending your artwork to a printer, one must ensure that files are prepped correctly for the print process. This entails proper formatting of print-ready PDFs, the correct inclusion of bleeds and margins, meticulous proofreading, and appropriate use of printer’s marks.
Creating Print-Ready PDFs
Print-ready PDFs are essential for high-quality print outputs. They should encapsulate all the necessary specifications such as fonts, resolution, and color settings. One must export native files to PDF format using the ‘Press Quality’ preset to maintain the integrity of their design. It’s crucial to embed all fonts and to flatten transparent objects to avoid any printing errors.
The Importance of Bleeds and Margins
Including bleeds in your PDF files ensures that your design extends beyond the edge of the final printed piece. Standard bleed size is typically 0.125 inches on all sides. Margins are just as important and refer to the space around the elements of your design which are not meant to be trimmed. It’s suggested to keep a minimum margin of 0.25 inches to ensure all critical elements remain intact after cutting.
Proofing and Proofreading Before Print
Proofreading is non-negotiable before finalizing print files. Checking spelling and grammar meticulously can save from costly reprints due to errors. Furthermore, proofing the document—either with a digital proof or a hard copy—allows for a careful review of the product before the final print run. It can highlight issues with color, layout, and quality that might go unnoticed on a computer screen.
Using Printer’s Marks and Crop Marks
Printer’s marks such as crop marks, registration marks, and color bars, should be included in your file. They guide the printer during finishing processes like cutting and folding. Crop marks indicate where the paper should be trimmed. To insert them, one must use the marks and bleeds settings when exporting their PDFs. The correct placement of these marks is imperative for the accuracy of the final trimmed size of your product.
Working with Your Local Printer
When ordering prints, it’s crucial to establish a clear line of communication with your local printer, carefully review samples and proofs, and consider online printing services as an alternative or supplement to traditional printing. These steps ensure a successful printing process from start to finish.
Communicating with Printing Technicians
Good communication with printing technicians is essential. Clients should provide detailed project specifications to ensure their needs are understood. This includes:
- Document size and layout
- Desired paper type and weight
- Color requirements (CMYK or Pantone)
- Finishing options such as lamination or binding
Clear communication can prevent errors and delays. Clients should be specific about deadlines and inquire about turnaround times. Good customer service facilitates a smoother transaction and can build lasting relationships between clients and printers.
Reviewing Samples and Electronic Proofs
Before the final print run, reviewing samples and electronic proofs is a crucial step. Samples provide a tactile example of paper quality and print finish, which can’t be fully captured electronically. They help clients:
- Assess paper textures and weights
- Verify color accuracy and image quality
An electronic proof acts as a final check before printing begins. It allows clients to:
- Confirm layout and design
- Ensure text accuracy
- Make necessary revisions
It’s important for clients to take their time during this stage, as it is their last chance to make changes without incurring additional costs.
Evaluating Online Printing Services
Clients should also consider online printing services. Online options can be more flexible and often cost-effective. They frequently offer user-friendly interfaces for uploading designs, choosing print options, and tracking orders. Clients can:
- Check for customer reviews on platforms like Trustpilot
- Compare pricing and options among different services
- Utilize customer support for any inquiries or issues
When selecting an online printer, one should ensure they have robust customer service and a proven track record of delivering high-quality prints. This due diligence helps in establishing trust and ensuring satisfying results.
The Printing Process and After
The successful completion of any print project hinges on a thorough understanding of the entirety of the printing process, which extends from the meticulous preparation of printing plates to rigorous post-print quality checks.
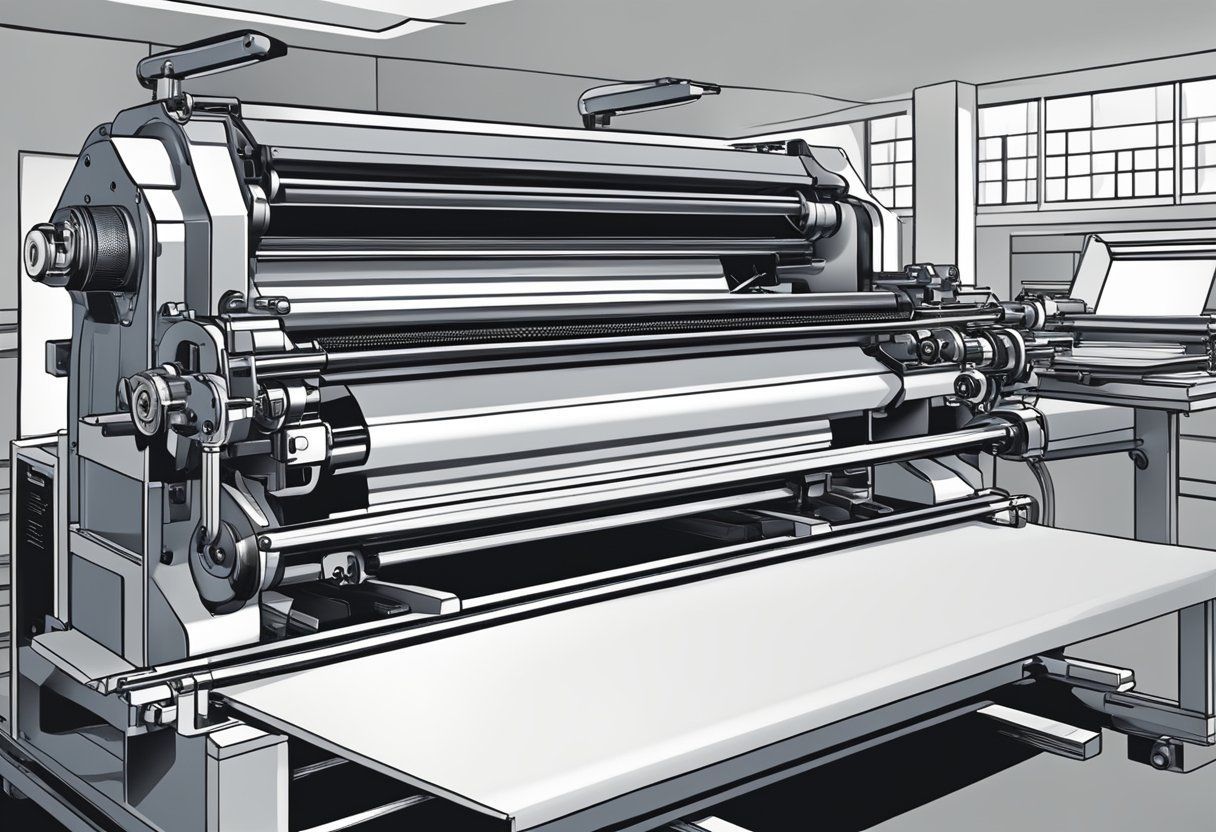
Setting Up and Preparing the Printing Plates
In preparing the printing plates, preflight checks are essential. Preflighting is the detailed process of verifying the print layout and ensuring compatibility with the printing equipment. This step uncovers potential issues such as incorrect font usage or image resolution that could derail the printing process. The printing plates themselves must be crafted with precision, often using a computer-to-plate (CTP) system to transfer digital images directly onto the plates with exactness.
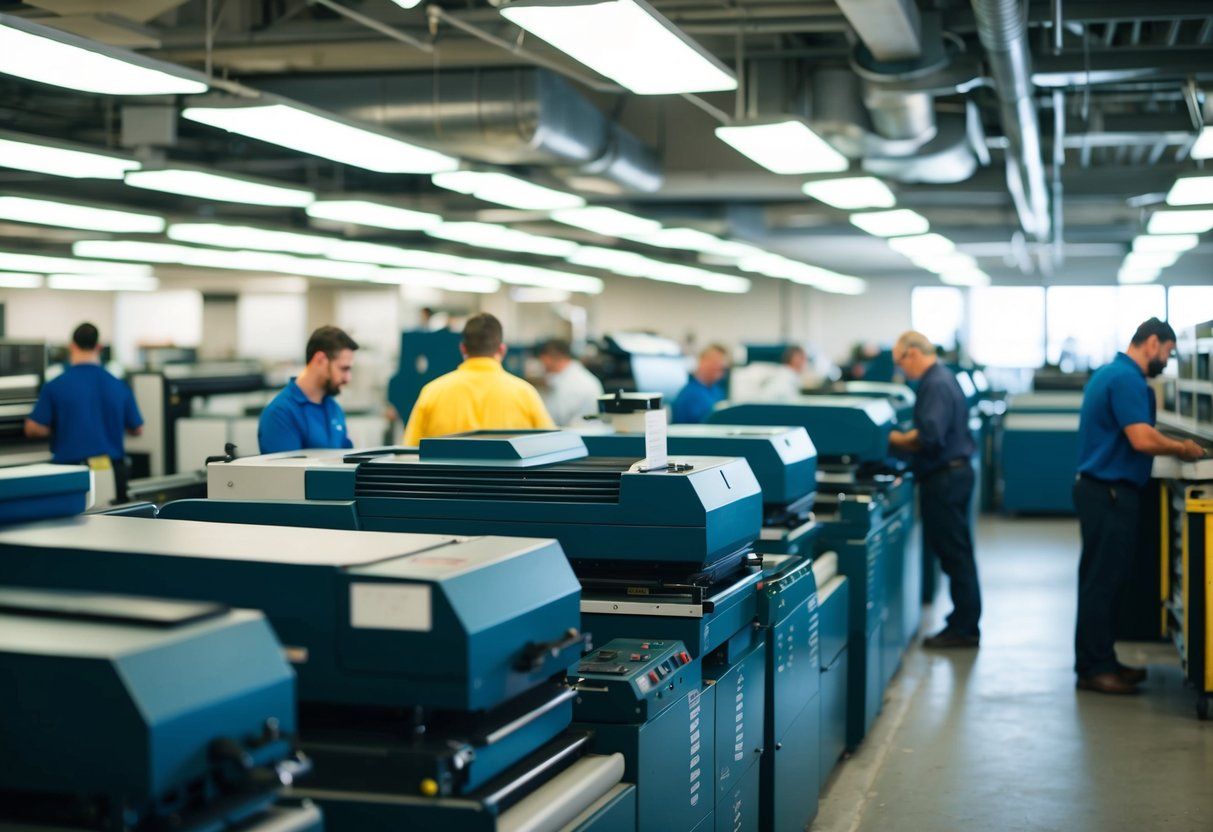
Monitoring the Printing Process
Once printing commences, continuous monitoring is critical. The equipment used, whether it’s an offset, digital, or screen printer, demands consistent oversight to maintain print quality. Print technicians regulate ink flow, adjust pressure, and align paper feed to ensure each impression on the substrate is uniform and sharp. Any deviation from set parameters is addressed immediately to avoid costly errors.
Post-Print Processing and Quality Checks
After printing, the materials enter the post-print phase, which includes any required cutting, folding, and binding processes. It’s a crucial stage where the quality of the final product is assessed. Quality checks may involve:
- Visual Inspection: Examining the prints for color consistency and alignment.
- Functionality Test: Ensuring that folds, cuts, and bindings are executed correctly.
Each printed batch must pass rigorous standards before being packaged and delivered to the client.
By adhering to detailed protocols throughout the printing process and beyond, print providers can guarantee superior results for their clients.
Budgeting and Cost Management
Effective budgeting is critical for the success of any print project. It ensures that costs are anticipated, tracked, and kept within limits. There are strategies to manage expenses while maintaining high-quality output.
Calculating Costs for Print Projects
The first step in budgeting for print projects is to identify all potential costs . They typically include:
- Design file preparation: Ensuring all design elements like logos and imagery are ready for print.
- Linguistic proofreading: Verifying copy for errors which, if uncorrected, can lead to costly reprints.
- Material selection: The type of paper, ink, and finishes can significantly affect the price.
- Print volume: Costs typically decrease per unit with larger quantities, due to economies of scale.
- Shipping and handling: This is often a variable cost depending on distance and speed of delivery.
One should use a detailed spreadsheet to list every cost component. For instance:
| Expense Category | Estimated Cost |
|---|---|
| Design File Preparation | $X |
| Linguistic Proofreading | $X |
| Material Selection | $X |
| Print Volume | $X per unit |
| Shipping and Handling | $X |
How to Save on Printing Without Sacrificing Quality
To reduce print costs without compromising on quality, one may consider the following:
- Review design files meticulously : Catching errors before printing saves costs associated with reprints.
- Bulk ordering : Larger orders can reduce the cost per piece.
- Material choices : Opt for cost-effective materials that do not detract from the product’s purpose.
- Vendor comparison : Solicit multiple quotes to find the best balance between cost and quality.
- Print method : Digital printing can be more cost-effective for smaller runs, while offset may be better for larger volumes.
These strategies focus on reducing waste, leveraging economies of scale, and careful planning and negotiation to meet budgetary constraints. By paying attention to these areas, one can effectively manage print project costs while maintaining desired quality.
Tips for a Successful Print Order

When initiating a print order, one must ensure that their print files are print-ready . This means that the files have been meticulously checked for any errors and are formatted correctly to the printer’s specifications. The inclusion of an imposition layout could significantly streamline the printing process. This layout determines how the pages are ordered and oriented on the printer’s sheet, to minimize waste and make binding more efficient.
Print options vary widely and should be selected based on the specific needs of the print job:
- Paper Type: Matte, glossy, or uncoated
- Binding: Stapled, perfect, spiral, or saddle stitch
For color prints , one must provide the printer with a CMYK (cyan, magenta, yellow, black) color model file. This is essential as it matches the printing inks used in most color printing presses.
File Submission Checklist:
| Task | Description |
|---|---|
| Proofread | Ensure text is free of typos and grammar errors. |
| Resolution | Graphics/images should be 300 DPI for quality prints. |
| Bleeds | Include bleeds if color extends to the edge of the page. |
| File Format | Typically .PDF or .TIFF files are preferred by printers. |
One should communicate effectively with their local printer, providing clear expectations and required timeframes. Understanding the turnaround time is vital to avoid any disappointments. Lastly, always request a proof before the full run to guarantee that the print matches one’s standards.
Frequently Asked Questions

Ensuring a smooth printing process involves understanding the steps of prepress and various print options. This section answers common queries to guide readers through proper file preparation, selection of finishes and quality, print sequencing, and troubleshooting.
What steps should I follow to prepare my files for prepress?
When preparing files for prepress, one must ensure that all images are high resolution and in CMYK format. Documents should have the appropriate bleed settings and all fonts must be embedded or outlined.
What options should I consider when selecting print finishes and paper quality?
Selecting print finishes and paper quality largely depends on the project’s purpose. Gloss, matte, or satin finishes can affect the visual appeal, while paper weight and type can contribute to the tactile experience and durability.
How can I set up my document to ensure it prints in the intended order?
To ensure a document prints in the correct order, organize the pages in the print layout according to the binding method. Paginate while considering how the final product will be assembled and read.
What are common printing issues and how can I avoid them?
Common printing issues include misalignment, color discrepancies, and improper trimming. Avoid these by double-checking alignments, using color proofs, and ensuring proper bleed settings during the prepress phase.
How can I configure reverse order printing on my printer?
Configuring reverse order printing can be done within the print settings dialog box of most printer software by selecting the ‘Reverse Order’ or ‘Print in Reverse’ option. This ensures that pages are stacked in the correct order after printing.
What is the impact of printing sequence on the final quality of my printed materials?
The printing sequence can affect the quality of the final product, especially in double-sided printing, where improper sequencing may lead to misalignments or page ordering errors that detract from the professional appearance of the printed material.…